Last Updated – May 2024
May 2024 Update: 1&1 web hosting is now known as IONOS web hosting. This article is preserved for historical purposes where instructions may not apply to how IONOS works now. It is best to visit IONOS own help centre for assistance here.
One of the most common questions we receive is how to install the ionCube Loader on shared servers hosted by 1&1, here’s a step by step guide on how to do it.
Step 1
Download the ionCube Linux 32bit Loader archive onto your machine: download
After the archive downloads, right click and extract the contents using ‘Extract All…’
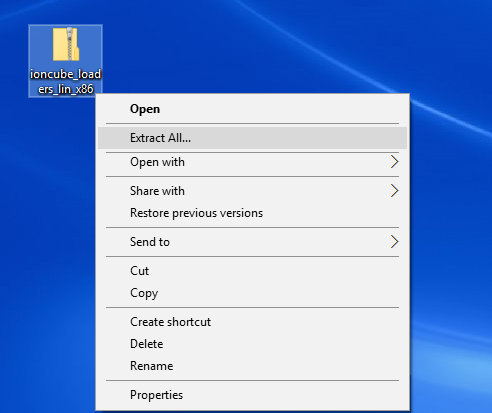
After the .zip is extracted you will have a folder named ‘ioncube’.

Using an FTP program, upload this folder to your 1&1 server.
If you require help with FTP, the 1&1 Help Centre can give you more information here
Step 2
Create a phpinfo(); script, I’m using Notepad++ to create the ‘phpinfo.php’ file which will contain the following code.
<?php
  echo phpinfo();
?>
Using the FTP program again, upload the phpinfo.php file you have created to the folder that contains the ionCube directory on your server.
Step 3
After the phpinfo.php script is uploaded to your server, with your web browser head to the URL of the script on your server and it will show a page similar to this:

Step 4
Scroll down the page until you see the Environment section, then find the ‘DOCUMENT_ROOT’ entry.
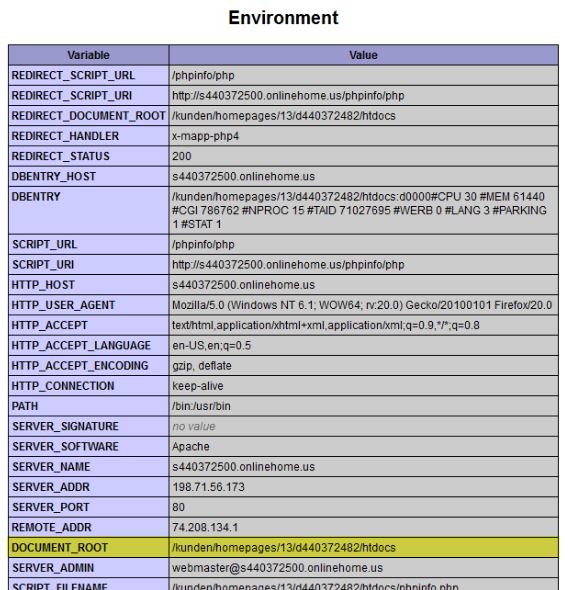
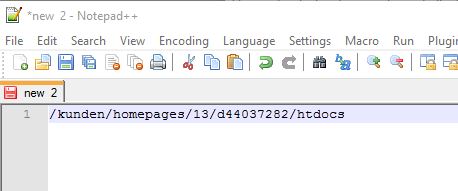
Copy the information and paste it into your text editor, your document root will be different to the example.
Step 5
The next step is to turn the document root into a zend extension for the ionCube Loader. Firstly add
“zend_extension =” in front of the document root,
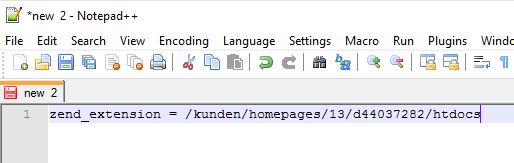
and then add the ioncube directory and ionCube loader for your servers PHP version to the end of the document root. For our example this is “/ioncube/ioncube_loader_lin_5.5.so”
So the final line should look like
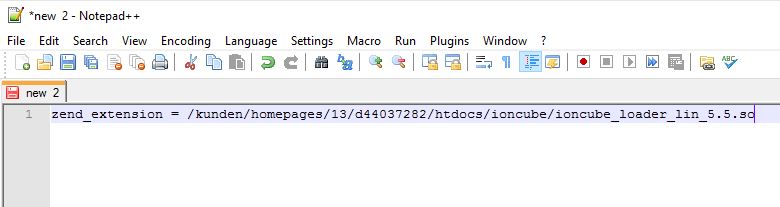
after your zend extension line is ready, save the file as php.ini
Step 6
Using your FTP client again, upload the php.ini file you have just saved to the ionCube folder in your servers web root. After the file is uploaded, open the phpinfo.php file again in your broswer (do a hard refresh of the page for good measure by holing ctrl + F5 on the page). Scroll down the page, until just above the ‘Configuration’ heading and the phpinfo page should show the ionCube Loader is installed
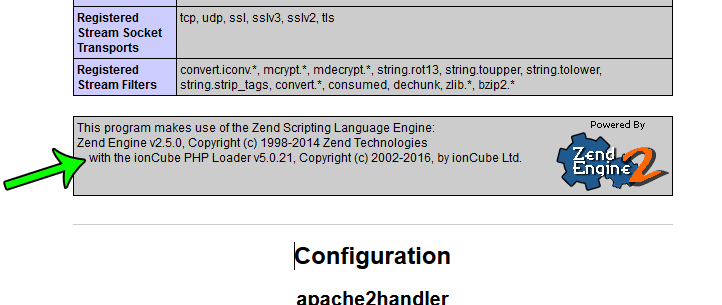
If the ionCube Loader is not listed, please check over your php.ini file zend extension line from step 5. If you are still experiencing problems you can drop a ticket in with our Support Team at ioncu.be/S
Step 7
This is the final step, now we know the ionCube Loader is installed on your server with the php.ini file. Due to the way 1and1 host their servers, each directory containing encoded files will need a copy of the php.ini file you created in step 5. Otherwise the encoded files will not recognize the Loader is present. After copying the php.ini file to all locations with encoded files, your encoded scripts or plugins will be able to run. Time for a brew!
—-
Important: 1&1 servers are being updated from 32 to 64bit without notification. If this happens, update your loader to 64bit.
If you require some guidance with your ionCube Loader installation on 1and1, you can create a ticket in with our Support Team at ioncu.be/S for free.
*Bonus WordPress Level*
If you have a WordPress website hosted with 1and1, copy the php.ini file to your wp-content and wp-admin directories as well.