Last Update – March 2026
In this first tutorial, we’ll see how to get started with the Encoder, and how to encode your files using basic settings.
Note: This tutorial uses features that were added in version 8.2 of the Encoder. If you are using an older version, we would recommend updating before continuing.
Create Sample Code
The first thing we need is some PHP to encode. Create a new folder somewhere on your system, and make a note of where you created it. Inside this folder, create a new PHP file, and add the following code (or add some sample code of your own):
<?php

echo "<html><body>This is a test for the ionCube PHP Encoder!<br  />";

$agent = $_SERVER['HTTP_USER_AGENT'];
echo "Your User Agent is: " . $agent . "<br  />";

echo "And now, for no reason, here's all the prime numbers from 1 to 1000!<br  />";
$primes = array();
array_push($primes, 2);
for ($i = 3; $i <= 1000; $i += 2)
{
    $isPrime = true;
    for ($j = 0; $j < sizeof($primes); ++$j)
    {
        if ($i % $primes[$j] === 0)
        {
            $isPrime = false;
            break;
        }
    }
    if ($isPrime === true) array_push($primes, $i);
}

foreach ($primes as $prime) echo $prime . " ";

echo "</body></html>";
?>
Setting up Your Project
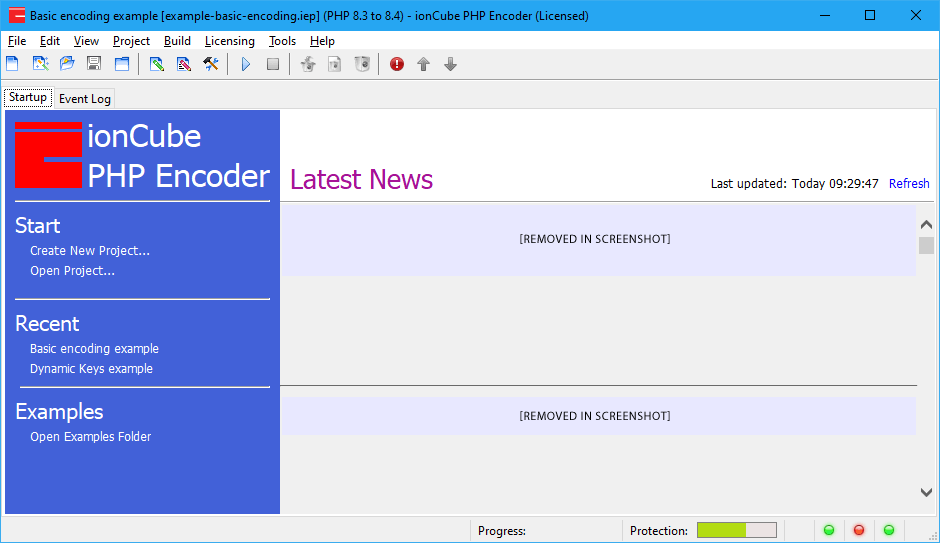
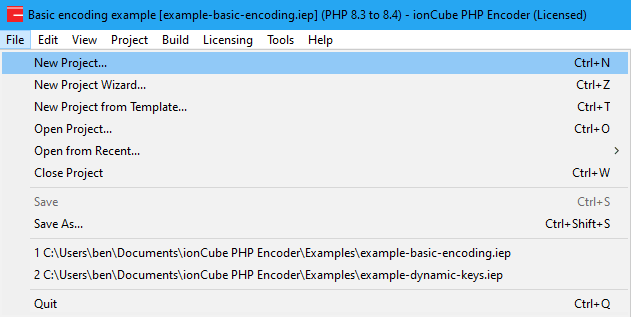
When you first open the Encoder, the first thing you will need to do is create a new project. There are plenty of ways to do this. New projects can be made from the startup panel, the toolbar or from the File menu.
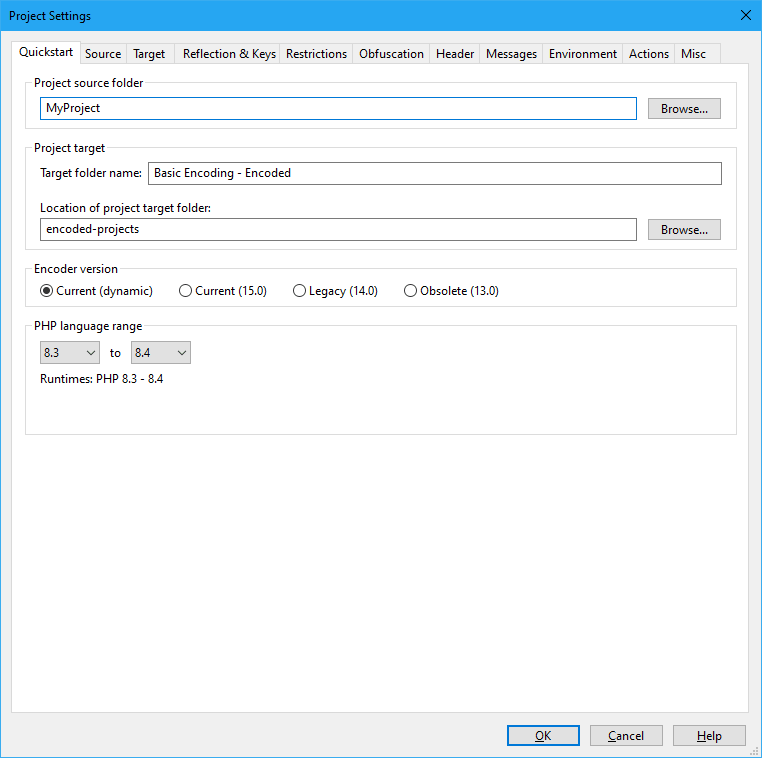
Once you have created a new project, the “Project Settings” window will be displayed.
![]()
The quickstart panel is designed to make setting up a project as quickly as possible, and contains all of the required settings to start encoding. Each of the settings are covered in the same order as they appear in the GUI.
First, you will need to tell the Encoder where the PHP files you want to encode are located, so browse for the folder containing the PHP file you created earlier. As a side note, you may notice your files appear on the source panel in the “Project files” tree structure.
Next, you will need to specify where your encoded files will be placed once they have finished processing. First, specify a name for the folder where your Encoded files will be placed, placing this in the “Target folder name” textbox. Then, browse for the location where you want this folder to be created.
Note: The Encoder has checks in place that will ensure your unencoded files are never overwritten. This is to prevent you from losing your original source code.
PHP Language Selection – How to use the “PHP Language Range”
After this, you can choose which type of Encoder you wish to use to encode your files. This is mainly for users who are unable to update their loaders to the latest versions. For now, this can be left set to “Current dynamic” or “Current”.
“Current Dynamic” was added in ionCube Encoder 15 and will automatically update your project to use the latest encoder available if a newer version of ionCube is used. For example, if you open the same project in a future version such as ionCube 16 then it would automatically select the latest encoder in that version.
Lastly, set the PHP source language range which is the range of PHP versions being run on target machines where you want to deploy your encoded files. For example if you set PHP 7.1-8.4 then the encode will automatically bundle together all the required files for these target PHP versions.
In older versions of ionCube you would just specify one minimum version of PHP and then need to manually create several sets of encoded files in different projects if needing to support a wide range of PHP options. This depended on users knowing compatibility rules which was confusing and so the range method was introduced in ionCube Encoder 15. Please contact us via support.ioncube.com if you require assistance with a legacy product using this method of language selection.
Once your settings have been filled in, this page should look similar to this:
Encoding your Files
Now that all of the previous steps have been fulfilled, the project should be ready to encode. Please note that this example uses minimum requirements for your first project and we recommend using advanced settings such as the Keys features for the best protection.
Click the ‘Play’ button to encode or go to Encoder > Build and the encoder will process your encoding project and then present an output summary screen.
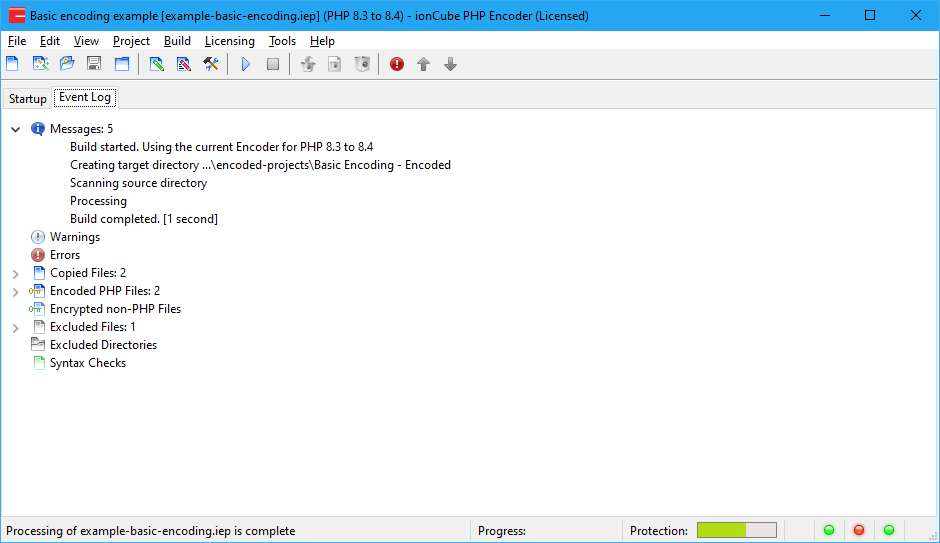
Congratulations!
Your sample PHP file has now been encoded. If you look in the directory you created in the “Target” settings tab, you see your encoded PHP files inside. You can now run these files on your server provided that ionCube Loader is configured correctly. This is the server-side component which runs encoded files and instructions for how to install can be found at ioncube.com/loader. We recommend using the Loader Wizard.